Making silicone nipples for mannequins
Posted: Mon Jan 18, 2016 2:36 am
In the process of looking at the next Eva mod I've decided to try my hand at making some silicone nipples instead of the usual 3d printed ones.
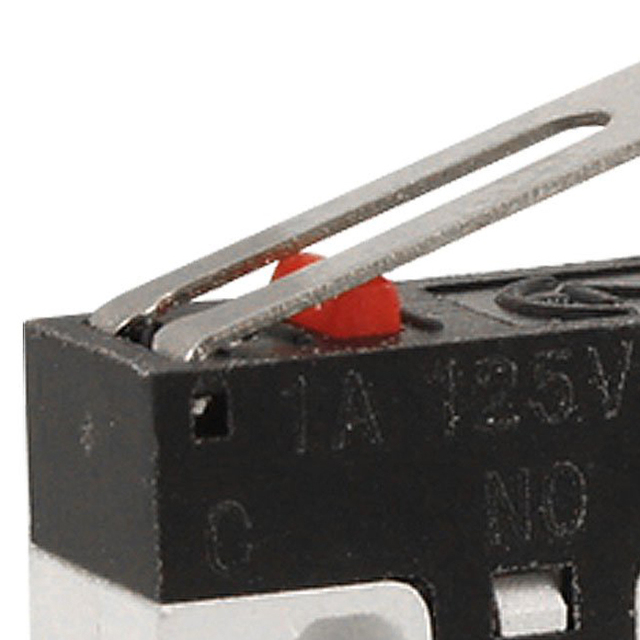
One reason is that I'm also looking at incorporating one of these push button audio units to make her touch interactive!
The goal will be to have a button under each silicone nipple, one near the vag, and maybe one at the end of the Fleshlight adapter somehow.
http://www.electronics123.com/shop/prod ... ation-5322

First step was to 3d print a mold.
The mold is modular, so I just have to print the center part for different styles. The core and foot part don't need to be reprinted.
The nipples have a concave back so they can fit over existing mannequin nipples.
This was a little micro silicone molding exercise, so I thought I'd list my steps for others if they are interested.
Here's whats' needed -
1. Tube of Permatex flowable windshield sealant: http://www.ebay.com/itm/Permatex-81730- ... 1054572829
This stuff is great for molding. Acrylic paint mixes nicely for color without needing to thin with Naphtha or mineral spirits.
It's a semi liquid so it flows into all the crevices in the mold nicely. I've also noticed that there's almost no shrinkage if any with this stuff.
With the thinned mixture (silicone caulk/naphtha/paint) I noticed quite a bit of shrinkage.
2. Vaseline as a release.
3. Acrylic paint for tinting. I'm using a sample jar of Behr Premium Plus Ultra flat.
Just a little on the end of the screwdriver is all it takes to get a good color.
4. Flat screwdriver for mixing.
3. Small soft artist brush for applying release and silicone.
4. Plastic graduated medicine cup.
5. Paper towels and mineral spirits for cleanup.
6. Beer optional! First, a light coat of vaseline is brushed on to both mold pieces.
5ml of silicone is squeezed into plastic medicine cup.
With a little paint on the end of the screwdriver, the silicone is mixed with color.
Next, a "detail coat" of silicone is brushed onto the mold to make sure there are no air pockets on the surface, then the rest of the silicone is dumped in.
Core mold is pressed down and tightened evenly making sure there is a good ooze out on all 4 sides...
These 1 part silicone sealants require moisture in the air to cure, so soaking the mold in warm water for a few hours helps accelerate the curing.
After a few hours the mold can be separated. For some reason (a happy accident) the casting stuck neatly to the core part when separated ...
This stuff takes about a full day to completely cure, so I'll just leave it overnight before handling it.
The next issue will be getting it adhered to the mannequin.
Silpoxy would probably be the best, but I think using the Permatex as adhesive will probably provide a good semi permanent bond. We shall see.
One reason is that I'm also looking at incorporating one of these push button audio units to make her touch interactive!
The goal will be to have a button under each silicone nipple, one near the vag, and maybe one at the end of the Fleshlight adapter somehow.
http://www.electronics123.com/shop/prod ... ation-5322
First step was to 3d print a mold.
The mold is modular, so I just have to print the center part for different styles. The core and foot part don't need to be reprinted.
The nipples have a concave back so they can fit over existing mannequin nipples.
- IMG_3831.JPG (633.14 KiB) Viewed 8589 times
Here's whats' needed -
1. Tube of Permatex flowable windshield sealant: http://www.ebay.com/itm/Permatex-81730- ... 1054572829
This stuff is great for molding. Acrylic paint mixes nicely for color without needing to thin with Naphtha or mineral spirits.
It's a semi liquid so it flows into all the crevices in the mold nicely. I've also noticed that there's almost no shrinkage if any with this stuff.
With the thinned mixture (silicone caulk/naphtha/paint) I noticed quite a bit of shrinkage.
2. Vaseline as a release.
3. Acrylic paint for tinting. I'm using a sample jar of Behr Premium Plus Ultra flat.
Just a little on the end of the screwdriver is all it takes to get a good color.
4. Flat screwdriver for mixing.
3. Small soft artist brush for applying release and silicone.
4. Plastic graduated medicine cup.
5. Paper towels and mineral spirits for cleanup.
6. Beer optional!
- IMG_3836.JPG (650.02 KiB) Viewed 8589 times
5ml of silicone is squeezed into plastic medicine cup.
With a little paint on the end of the screwdriver, the silicone is mixed with color.
Next, a "detail coat" of silicone is brushed onto the mold to make sure there are no air pockets on the surface, then the rest of the silicone is dumped in.
Core mold is pressed down and tightened evenly making sure there is a good ooze out on all 4 sides...
- IMG_3837.JPG (773.92 KiB) Viewed 8589 times
After a few hours the mold can be separated. For some reason (a happy accident) the casting stuck neatly to the core part when separated
- IMG_3839.JPG (674.78 KiB) Viewed 8589 times
The next issue will be getting it adhered to the mannequin.
Silpoxy would probably be the best, but I think using the Permatex as adhesive will probably provide a good semi permanent bond. We shall see.