For Halloween I thought I would revive this thread a little with a picture of Fiona's new Phantom of the Opera look...
002.JPG (538.89 KiB) Viewed 5398 times
LOL, just kidding. Actually since the weather has been nice and I can open the windows, I took a little break from everything and did some stripping, er...eh... paint stripping that is.
Fiona came to me with some impact damage and some bad paint problems. The paint on her hands was severely bubbled so I needed to strip them completely. The paint came off so easily that I decided to just go ahead and strip the whole mannequin!
So far I have her hands, left leg and head done...
003.JPG (550.24 KiB) Viewed 5398 times
It's really sort of therapeutic - a nice diversion from working at the computer all day.
The shiny white finish comes off quickly and easily in big hunks with the putty knife, but the gray primer underneath takes a little more scraping.
It's taking a while, but I think it's actually better than sanding the shiny finish and creating a layer of toxic Chinese paint dust throughout my apartment.
It's going to be fun to see this one transform from stark white to lifelike. This one will have a darker skin tone and more pronounced tan lines, silicone nipples and 3d printed eyes.
Re: Tools for modifying MQ's
Posted: Tue Oct 29, 2013 1:48 pm
by mannequin man
Doll Guru, hi. glad you brought this up, this seems to be a topic that is never too old to talk about & some of us finding the neat little gadgets to accomplish our mod's & alterations, should pitch in. Ive been a prop maker & for several years, & at 50, done my share of 'Mannequin Makeovers'. anyway, as previously stated, you just cant beat the 2" hole saw for making the hole. plastic or F'glass. but...but, there are a few 'Unique' tools to use for many cuts, grooves, holes, etc. one in general is this (dremel clone), I found at a yard sale. its adapted for a 3/8 regular drill. now when I got the set, a couple did not work, but with a little skill, I was able to fix them. I got the set for $10, & still have it today. its made by a company called ( SPEEDWAY TOOLS ). (Mini drill kit). not sure if there still around, but im sure if you search, u can come up with somthin.....& sorry,...mines not for sale.... MM.
Re: Tools for modifying MQ's
Posted: Sun Apr 20, 2014 1:58 am
by MannequinFan
A little more progress on Fiona today using a new tool to open up her head for installation of new 3d printed eyes.
I found that the little mini hack saw came in real handy to cut the back of her head off.
Just drilled 3 small holes and connected them to make a slot big enough to insert the saw blade and then the saw worked great to make the straight cut around the head. This is a great little tool for making straight cuts in fiberglass. http://www.homedepot.com/p/Stanley-10-i ... /100026795
The Dremel was used to finish out the eye holes...
001.JPG (751.86 KiB) Viewed 5236 times
My first post ;-)
Posted: Fri Aug 22, 2014 8:14 am
by mi6c
Greetings.
I am always curious where this thread is going ... its just THAT awesome - well, at least in my opinion.
While I certainly lack the skill( and maybe also the imagination and discipline ) to modify my Mannequins in any way - and knew this before I even considered buying one - this thread nevertheless was the one that got me started to go out and buy ... some
So even though I cannot provide any additional input on modifications I felt I should make my first post here nonetheless, hope that is ok.
Thanks for all the great input in threads like this one - esp. to MannequinFan
Re: Tools for modifying MQ's
Posted: Fri Aug 22, 2014 9:35 am
by MannequinFan
mi6c wrote:Greetings.
I am always curious where this thread is going ... its just THAT awesome - well, at least in my opinion.
While I certainly lack the skill( and maybe also the imagination and discipline ) to modify my Mannequins in any way - and knew this before I even considered buying one - this thread nevertheless was the one that got me started to go out and buy ... some
So even though I cannot provide any additional input on modifications I felt I should make my first post here nonetheless, hope that is ok.
Thanks for all the great input in threads like this one - esp. to MannequinFan
Greetings and many welcomes mi6c!
Thanks so much for your comments - that made me feel really good.
The mannequin forum has been a bit quiet lately, so if you have some mannequins to share we would love to see them!
After you have 5 approved posts you can attach pictures, so start a thread and show us your ladies when you can!
MF
Re: Tools for modifying MQ's
Posted: Thu Sep 11, 2014 10:05 am
by gyxile
My Dremel is the best thing I have ever bought. I use it for everything .
Re: Tools for modifying MQ's
Posted: Mon Jun 27, 2016 12:40 am
by samara78
MannequinFan wrote:YAY!
After fooling around with a lot of different things, I finally found the ultimate technique for doing the tan lines.
I knew there had to be an easier way to do this. This is much quicker and easier than trying to blend with two separate sponges and it's much easier to control the line.
Not sure why I didn't think of this before, but here's the painting technique if anyone is interested:
1. The Quickie sponges are 4" x 3" - a little too big - so I cut them in half to get a nice 3" x 2" paint pad. I also trim the corners off to avoid getting sharp corner marks in the paint finish.
2. Dampen the sponges by soaking them first, then press the excess water out on a paper towel. They want to be just damp, not wet. Too much water will thin the paint too much and destroy the paint properties.
3. Using a couple of plastic spoons, dip about a half spoon of light color paint on one end of the sponge and the darker color on the other end so you will be painting with two colors at the same time.
4. Using a patting motion (don't drag the sponge) simply follow the line on the mannequin keeping the sponge centered on the line. With a few passes the paint colors will naturally blend together as you pat the sponge down and give you a nice blended tan line.
IMG_1485.JPG
To do a tan line for a bra strap for instance, you would simply put a small amount of light color in the middle of the sponge and the dark color on each end.
This really helped thank you.
Re: Tools for modifying MQ's
Posted: Thu Dec 01, 2016 8:29 am
by mi6c
Well, its been a while ...
998 posts in between to be more specific.
And I still hold MannequinFan and the folks who invent and repair all the lovelies in the highest regard.
So I guess I might as well let this treasure of a thread resurface again.
All the best.
That's the tool I ended up going with to do the modifications to my mannequins. Easily drills a hole for the vag, I also used an attachment that came with it to pierce one of my mannequins ears with, too.
Here are some images of my Kristen with the modification. It's an original (uncut) Fleshlight inside her. In the last image, she's dripping wet with lube.
IMG_20160117_192717-1.jpg (26.54 KiB) Viewed 3940 times
IMG_20150426_190754.jpg (86.92 KiB) Viewed 3938 times
IMG_20160926_125749.jpg (34.53 KiB) Viewed 3940 times
IMG_20160926_125016.jpg (18.51 KiB) Viewed 3940 times
Hi MannequinFan. Just like to thank you for showing the process of how you installed the toy into your mannequin. I have been thinking about how I was going to do mine. When I get her. Question for you. The wooden rod you inserted into the toy, before you filled the hips with flexible foam. Dose the wooden rod have to be thick enough to stop the flexible foam from closing the toy up? I was thinking the foam expanding would put pressure on the toy to close it up.
Another question I would like to ask. This is for anyone. Has any body tried to modify a mannequin to have silicon breasts. I have been looking at ones you can buy that TV's use.
Thanks.
Re: Tools for modifying MQ's
Posted: Fri Oct 20, 2017 7:46 pm
by MannequinFan
Hi UBH,
If you are looking for usability, I would not recommend doing the mod the way I did on Sammie.
She was done mainly for realism and not for usability. She was nice for a visual turn on and for some "outercourse" play but not for penetration.
For usability, by far the best thing to use is a Fleshlight sleeve.
What mannequin are you looking at getting?
Re: Tools for modifying MQ's
Posted: Fri Oct 20, 2017 8:31 pm
by UseBothHands
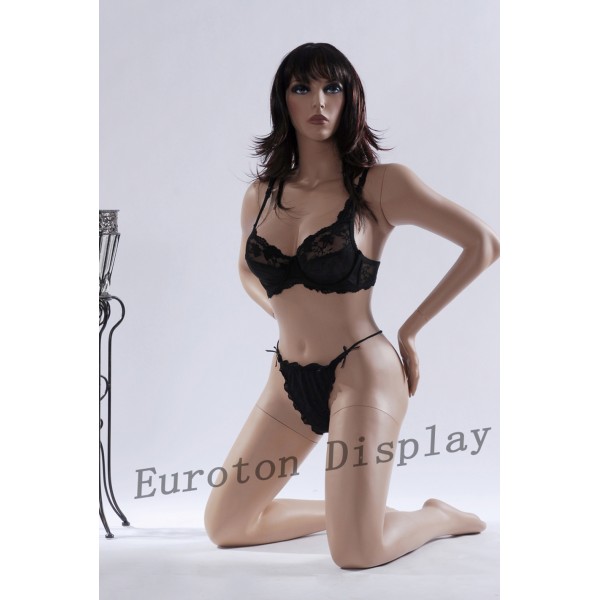
I am looking at a mannequin on ebay. A company called Euroton Display. A mannequin named sexy-2. Shes is kneeling with her hands on her bum. She is only one I could find with large breasts and is in Europe.