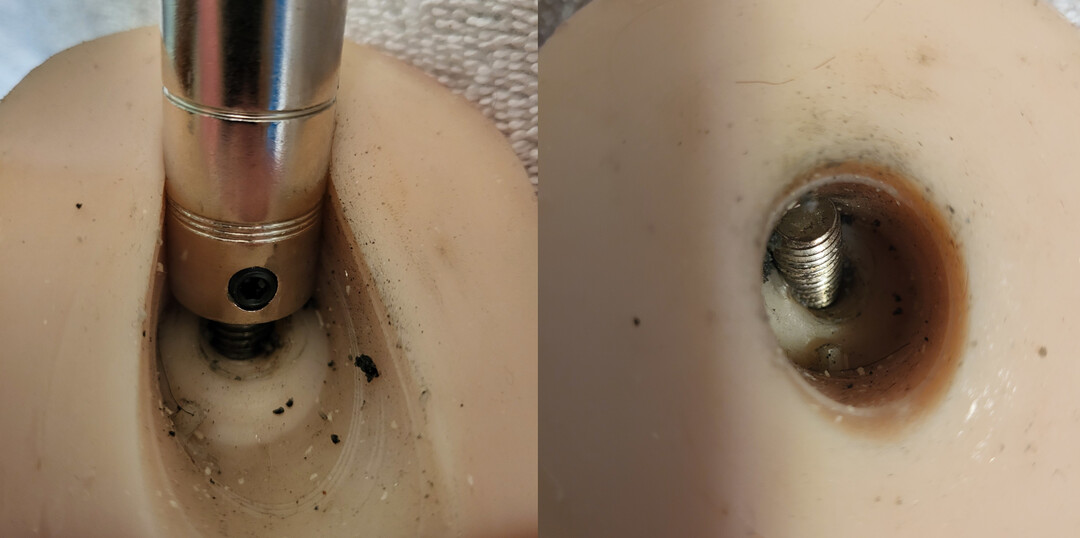
jms033 wrote: ↑Sat Feb 24, 2024 10:33 pm
Wheezer, did you ever post on how to remove the hard spacer on the neck so that any m16 bolt will fit?
Damn, I thought I had posted something like that already, perhaps in a another thread.
Oh well, here is is (maybe again).
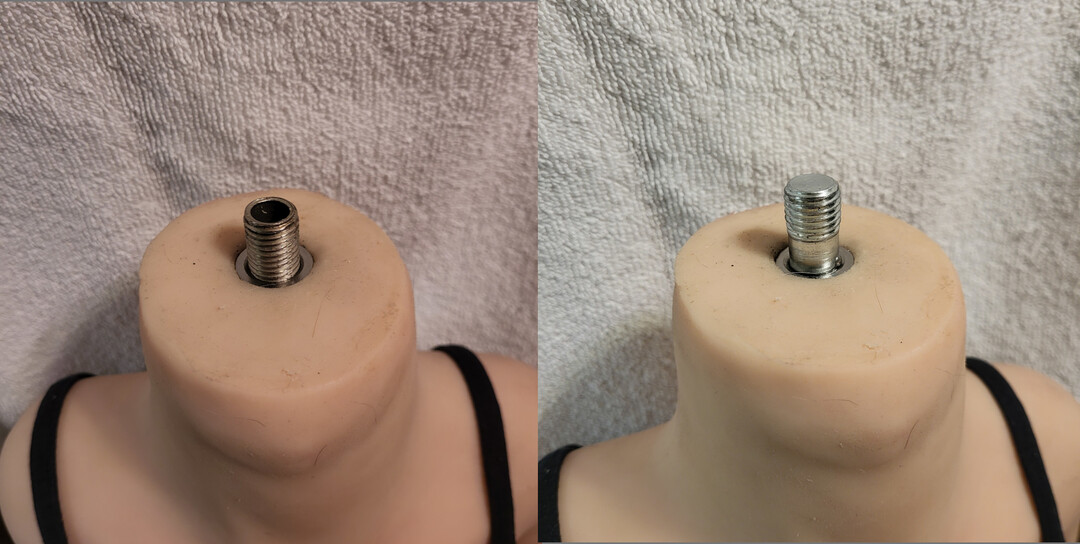
The modification is to remove the fiber neck protector, remove the extension neck bolt, then replace it with something that fits the threaded stud in the skeleton and gives you a standard M16 threaded mounting spot.
When all done it is everything is flush.
Here goes.
 1) Remove Neck Protector
This is just a inert riser to separate the silicone head from the TPE body.
Use the snap ring plier to remove the snap ring then lift off the riser.
You will end up with a connector extending out of the neck stump.
NECK PROTECTOR

- (01)_Neck Protector(4096).jpg (1.14 MiB) Viewed 301 times
2) Remove Neck Connector
Pull the TPE away from the protruding neck bolt.
At the base you will see a set screw.
It could be positioned anywhere, so check all around the base of the the connector.
Use an appropriate bit to unscrew the set screw and then unscrew the connector.
If the set screw strips or you can not get it out, then resort to wrenches, etc. to unscrew the existing neck connector.
If you have to do the forced unscrew then do it gently to prevent excess damage to the threaded stud that connects to the skeleton.
When all is done you will see an M10 threaded stud is the connector to the longer protruding M16 sized connector.
NECK CONNECTOR - Set Screw and M10 stud

- (02)_Neck Bol(2048).jpg (409.74 KiB) Viewed 301 times
NECK CONNECTOR DETAILS

- (03)_Neck-Head Connector(4096).jpg (1.33 MiB) Viewed 301 times
3) Replacement Neck Connector
You need two parts, a M16 coupler and a M10 to M16 threaded adapter.
For this I used a knurled stainless steel M16 threaded coupler, standard length of 30mm.
The M10 to M16 insert sleeve coupler nut is 12mm long. A 10mm or 12mm one should work OK.
Insert the sleeve coupler nut into the M16 coupler and then screw in.
You may want to Loctite or even superglue the sleeve in.
If so, then do it AFTER you have completed eveything and know it works.
For the coupler nut, I have found the knurled ones "bite" a bit into the TPE and work quite well.
Standard ones also work OK if that is all you can get.
When all is assembled and screwed in, you now have a standard M16 threaded neck connector flush with the neck stump.
REPLACEMENT NECK CONNECTOR

- (04)_Parts_Fix(4096).jpg (1.28 MiB) Viewed 301 times
Testing and Fitting
You now have a standard M16 threaded neck connector on you doll.
Any M16 threaded connector will fit, along with quick connect adapters that work with standard M16 threads.
CONNECTOR TESTING

- (05)_Connectors(2048).jpg (576.29 KiB) Viewed 301 times
Since there is no giant gap from removing the neck protector and leaving the protruding connector, heads fit lower and look more natural.
HEAD FITTING

- (06)_Head Fit(2048).jpg (520.13 KiB) Viewed 301 times
Final Result
Now that any threaded connector will fit, you can even use the flexing quick connectors to allow her head a little more adjustment.
FINAL RESULT

- (07)_Final Face(2048).jpg (1.33 MiB) Viewed 301 times
It is not that difficult a modification, the parts are inexpensive and you really have no step where you can screw up you doll.
The toughest part might be removing the original neck bolt.
Just take your time and it should be fine.
Good luck and I hope it helps.
Cheers!
... W ...